A sitemap is like a map for your website. It helps search engines find all the pages on your site. If you have lots of pages, a sitemap makes it easier for search engines to find and show them in search results.
In this post, I’ll explain how to make a Sitemap from scratch using Next.js.
Setting up the Next.js. Project
Before we dive into the code, let’s ensure we have everything set up:
- Install the latest version of Next.js or the minimum version of Next.js 13.
Once the project is set up now let’s understand the Code.
Adding Sitemap in Nextjs
Create a Sitemap.js File in the App Folder
The first thing is you need to create a new sitemap.js file in your Next.js App folder.
If you using TypeScript then you can add a sitemap.ts to avoid getting bugs during development.
In this file, we need to return a function and the name of the function shows as be sitemap, here is a proper example mentioned below:
export default async function sitemap() {

return //More code here

}
Also see: How to Shuffle an Array in JavaScript? [Step-by-Step Guide]
Use route details in an Array for Static site
For those of you who have a static website and not using a dynamic route then make sure you added all the route details in an array of objects.
Here is a good example of how can you show the details the route details.
  const tools: PostType[] = [
    { url: "dummy-post-1", _updatedAt: "2024-03-21T14:59:28Z" },
    { url: "dummy-post-2", _updatedAt: "2024-03-23T14:59:28Z" },
    { url: "dummy-post-3", _updatedAt: "2024-03-24T14:59:28Z" },
    { url: "dummy-post-4", _updatedAt: "2024-03-25T14:59:28Z" },
    { url: "dummy-post-5", _updatedAt: "2024-03-27T14:59:28Z" },
    { url: "dummy-post-6", _updatedAt: "2024-03-28T14:59:28Z" },
  ];
Remember to also add the publish date of the page according to the route as shown in the above example.
Map through the Stored Array details and return it
Now we need to map through this stored array data and return it.
If you’re fetching data from an API, you don’t necessarily need to store all the details in an array of objects.
Instead, you can directly map through the details after fetching the data in your app.
 export default async function sitemap() {

  const routes = [
    { url: "dummy-post-1", _updatedAt: "2024-03-21T14:59:28Z" },
    { url: "dummy-post-2", _updatedAt: "2024-03-23T14:59:28Z" },
    { url: "dummy-post-3", _updatedAt: "2024-03-24T14:59:28Z" },
    { url: "dummy-post-4", _updatedAt: "2024-03-25T14:59:28Z" },
    { url: "dummy-post-5", _updatedAt: "2024-03-27T14:59:28Z" },
    { url: "dummy-post-6", _updatedAt: "2024-03-28T14:59:28Z" },
  ];


return routes.map((route) => ({
    url: `https://localhost:3000/${route.url}`,
    lastModified: route._updatedAt,
  }));

  }
In the example above, I made an array called “tools” storing URL data and update times.
Then, I changed the names a bit. The URL data is now stored in a property called “URL,” and “_updatedAt” is now called “lastModified.”
So, now the function returns data where each object has a “URL” property containing the website URL and a “lastModified” property showing the last time the data was updated.
Make sure to add your domain name instead of localhost:3000 in production.
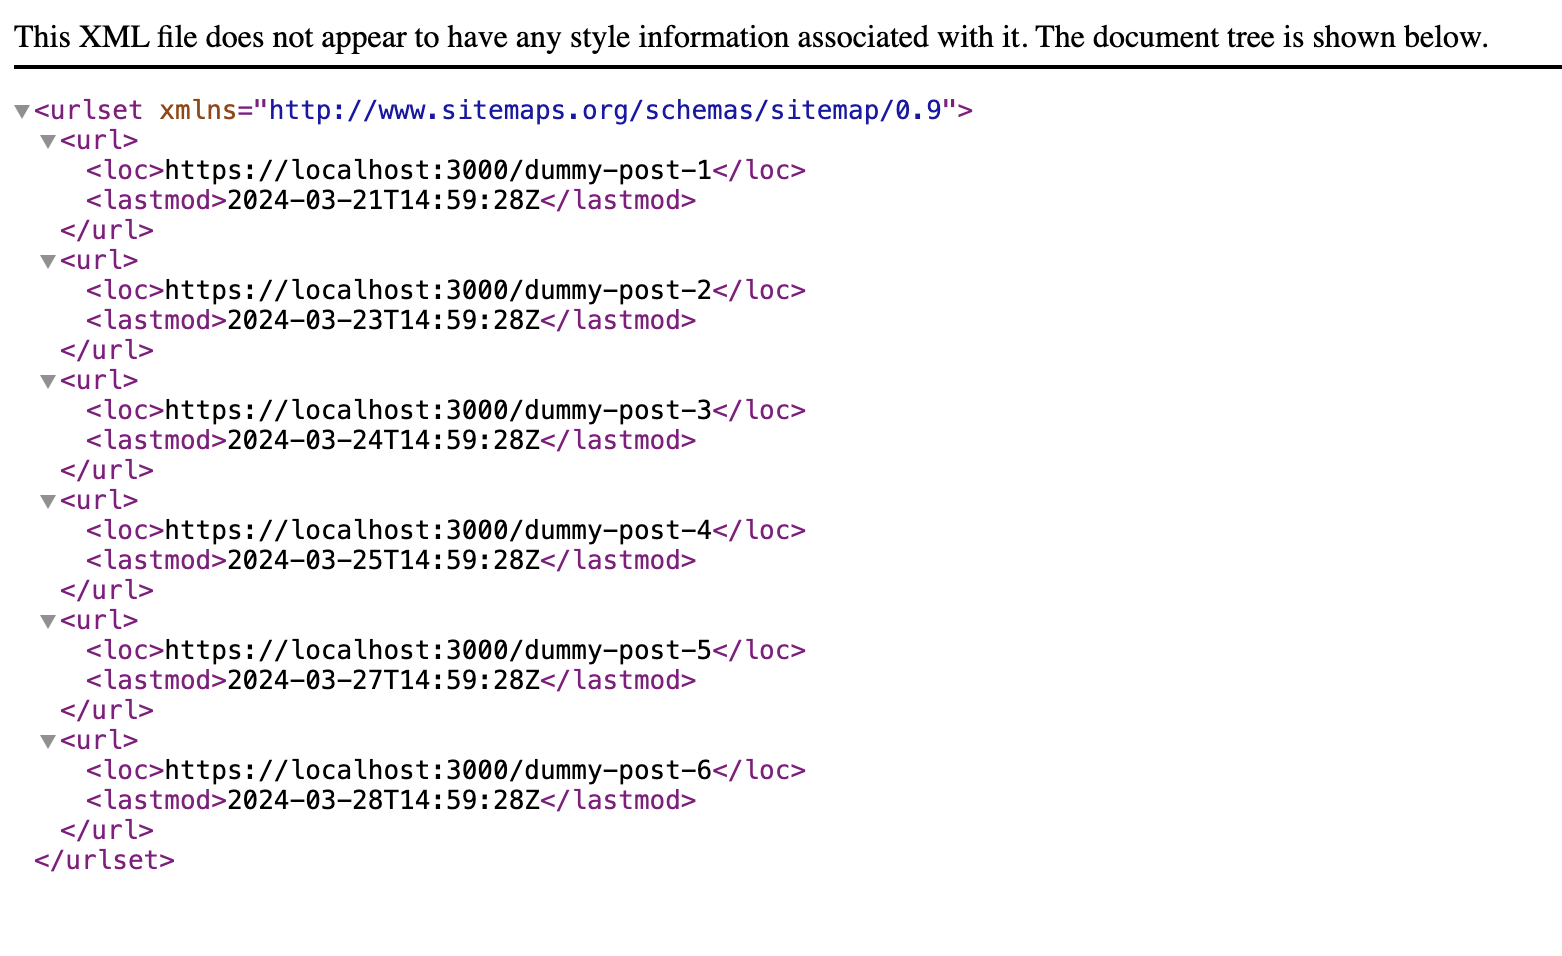
Now if you save the file and visit http://localhost:3000/sitemap.xml you will see that Next.js has successfully generated a sitemap for us.

Previously I have also shared how you make How can Make Horizontal Scroll using next.js.