Next.js has remained a popular JavaScript framework since 2021, being built on React-based architecture up to the present day.
If you also use Next.js to build web applications or websites where users scroll long pages to consume the content of the page.
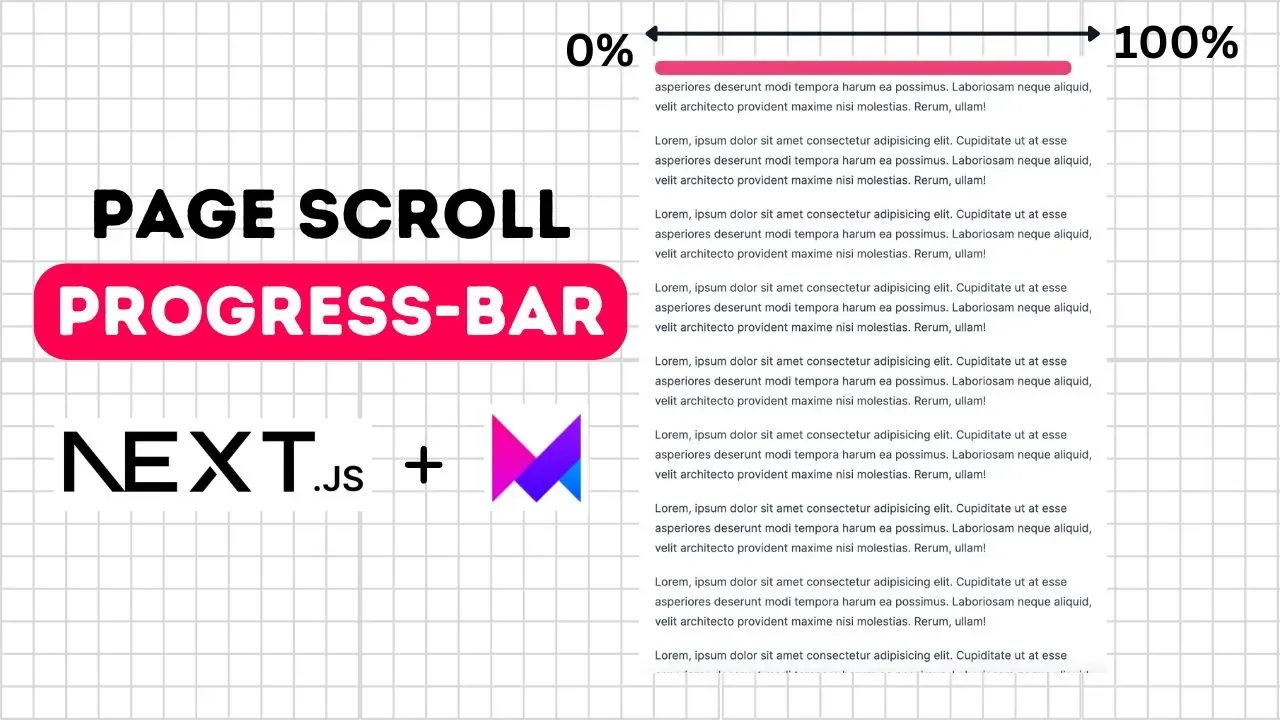
To make the page more user-friendly you can add a page scroll progress bar component into your page so that users can see how much they have to scroll to the current page.
A great advantage is that you can integrate a page scroll progress bar into your Next.js project with just a few lines of code and the Framer Motion library.
If you never used framer motion before then you do not need to worry because I will guide you throughout the tutorial with an easy explanation.
Also, you have to directly copy and paste the code into your code and enable the page scroll progress bar.
Here is a step-by-step guide with the code.
Page scroll progress bar in Next.js
1. Adding Framer Motion library
Firstly you need to download the Framer Motion package into your project using npm, simply run the below code into your terminal to download the package.
npm i framer-motion2. Adding Progress Bar
To make the bar visible to the users obviously, you need to add a div with style to it like background color, height, position, etc.
So open the file in your next project where you want to add the progress bar and add an empty div.
Inside the div you have to add some styling to make it look like a progress bar, I have mentioned below what styles you need to add.
   <div
    style={{
    scaleX: scale,
    transformOrigin: "left",
    background: "#8b5cf6",
    position: "sticky",
    top: 10,
    width: "100%",
    height: "20px",
    borderRadius: "20px",
        }}
      />
Once you have added this div with the inline CSS styling you’re ready to move on to the third step.
Also See: How to Convert String Array to Integer Array? [5 Easy Methods]
3. Framer-Motion “scrollYProgress”
Now to increase and decrease the scale of the scroll bar div we need to calculate how much users have scroll on the page.
To do that we can use the Framer Motion package because it gives us a useScroll() hook, using this hook calculating page scroll progression becomes very simple.
import useScroll() from framer-motion and from this hook we also need to destructure scrollYProgress you can follow as I mentioned below.
"use client";

import { useScroll } from "framer-motion";

export default function Page() {
  const { scrollYProgress } = useScroll(); // destructure scrollYProgress

  return (

    <div
        style={{
          transformOrigin: "left",
          background: "#8b5cf6",
          position: "sticky",
          top: 10,
          width: "100%",
          height: "20px",
          borderRadius: "20px",
        }}
      />
//Other Content
  )
Now we’re getting the page scroll progress value from scrollYProgress and using this to increase and decrease the div scaling.
simply add a new CSS property “scaleX” and in the value add scrollYProgress.
One last thing you need to do is convert the normal div to a motion.div and you can easily use but first import motion from framer motion.
Then convert normal div to motion.div
"use client";
import { useScroll, motion } from "framer-motion";
export default function Page() {
const { scrollYProgress } = useScroll(); // destructure scrollYProgress
return (
<motion.div
style={{
scaleX: scrollYProgress, //scaleX added
transformOrigin: "left",
background: "#8b5cf6",
position: "sticky",
top: 10,
width: "100%",
height: "20px",
borderRadius: "20px",
}}
/>
//Other Content
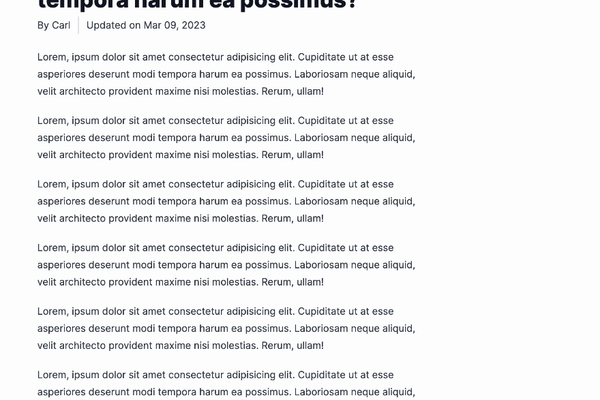
)Now save the file and try scrolling on the page in your browser in which you have added the scroll progress component.
page scroll progress bar simple
4. Refining the Scroll Bar
To make the scroll bar look more smooth and satisfying, you can add some spring effects or, if you want, add gradient color to the scroll bar.
First, let’s see how to add the spring effect.
For the spring effect, we need to import useSpring from the framer motion again.
import{useScroll, motion, useSpring}from"framer-motion";Now we need to pass the scrollYProgress value to the spring so that we can get a spring effect value.
"use client";
import { useScroll, motion, useSpring } from "framer-motion";
export default function Page() {
const { scrollYProgress } = useScroll();
const scale = useSpring(scrollYProgress); // Passing scrollYProgress
return (
<motion.div
style={{
scaleX: scale, //Add spring value
transformOrigin: "left",
background: "#8b5cf6",
position: "sticky",
top: 10,
width: "100%",
height: "20px",
borderRadius: "20px",
}}
/>
//Other Content
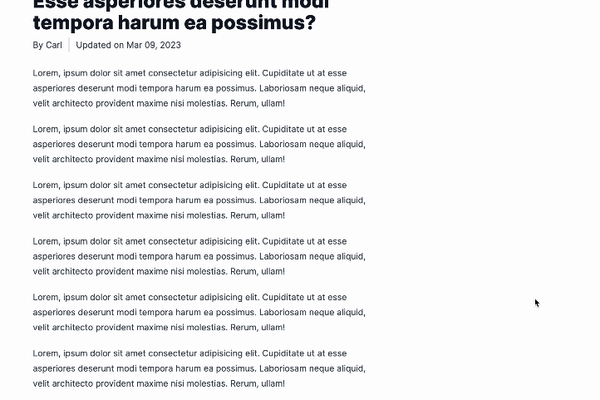
)Now while scrolling the page you could see a spring effect has applied.
page scroll progress bar spring
Let’s see how to add a Gradient Effect.
To add Gradient on the progress bar we need to use another framer motion hook called useTransform.
This hook will transform two colors and mix them according to our page progress value, let see how to use it.
Again import the useTransform from the framer motion.
import{useScroll, motion, useSpring, useTransform}from"framer-motion";Now use the useFransform hook to create a gradient color value.
"use client";

import { useScroll, motion, useSpring, useTransform } from "framer-motion";

export default function Page() {
  const { scrollYProgress } = useScroll();
    const scale = useSpring(scrollYProgress); /

 const background = useTransform(
    scrollYProgress,
    [0, 1],
    ["rgb(138, 92, 246)", "rgb(244, 63, 94)"]
  );

  // Passing scrollYProgress to useTransform Hook
  // [0,1] represents the percentage of the scroll
  // finally add two colors value in rgb

  return (

    <motion.div
        style={{
          scaleX: scale,
          transformOrigin: "left",
          background: background, //Add transformed color value
          position: "sticky",
          top: 10,
          width: "100%",
          height: "20px",
          borderRadius: "20px",
        }}
      />
//Other Content
)- The [0,1] represents the page progress scroll. 0 means 0% and 1 means 100%
- In the
useTransformhook you also need to specify the color values you want to transform while scrolling.
This is how you can easily implement the page progress bar into your next project with a few lines of code and a framer motion package.
Framer motion has more capability than this and I will share more use cases of this amazing liberrity in a future blog post.
For now, you can follow my social media for quick tips and help.