When you place an image inside a <div> or <p> element, the image might stretch to fill the entire width of the container. This happens because <div> and <p> are block-level elements, When you use block-level HTML elements, they automatically take up the full width available.
For Example:
Block and Inline-Block Image Example
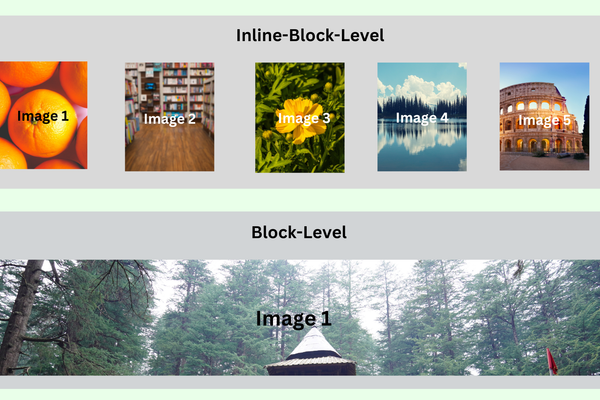
In the example above, five images are shown side by side, with each image taking up only as much space as it needs. The ‘Image 1’ image, however, stretches to fill the entire width of the container.
To prevent this issue and align images side by side, here are some methods and tips that can help, as shared below.
Solution:
The best and easiest way to fix this, you can apply display: inline-block it to the image container. Check out the example below mentioned.
 <head>
    <style>
      .image {
        display: inline-block;
      }
    </style>
  </head>

  <body>
    <div class="image">
      <img src="Images/Images 1.png" alt="Image 1" />
    </div>
    <div class="image">
      <img src="Images/Images 2.png" alt="Image 2" />
    </div>
  </body>
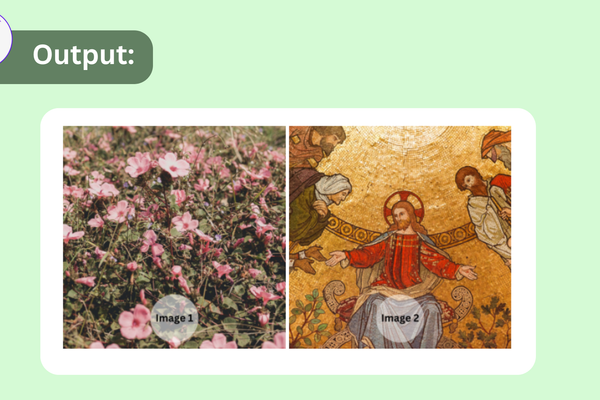
The example above contains div elements with image tags inside. In the CSS, we applied display: inline-block to the image container, converting the elements from block to inline level element. The output is mentioned below.
Output:
If you are using the display-inline-block property that’s great, Always make sure there are some limitations CSS property compared to using CSS Flexbox or Grid,
However, you can use most of the CSS styling properties like margin, padding, border, and more CSS properties for only styling inline-block elements. Also, you can not apply or use gap property directly, Flexbox and Grid are better for this.
Two Images Side by Side in HTML Using Flex Box
Step 1: Create a basic HTML structure.
In the first step, we need to create the base of our HTML structure.
Start by Creating a div container and place all your image elements inside on it.
Also, add a class to the div container so you can target it in the CSS stylesheet. An example of the code is provided below.
HTML Example:
 <div class="image-container">
      <img src="Images/Images 1.png" />
      <img src="Images/Images 2.png" />
 </div>
As you can see in the example above, the div container has a class name along with the two images elements inside on it.
Multiple Images Side by Side Example:
Note: To display multiple images side by side, as shown in the example above, simply add more image elements inside your <div> container. You can control their layout using CSS. Refer to the example below for guidance.
 <div class="image-container">
      <img src="Images/Images 1.png" />
      <img src="Images/Images 2.png" />
      <img src="Images/Images 3.png" />
      <img src="Images/Images 4.png" />
      <img src="Images/Images 5.png" />
</div>
Step 2: Apply Flex Box property.
Once you’ve added the images inside the div container.
Now apply the CSS Flexbox’s property called display: flex; to the container.
Go to your CSS file sheet and select the div container class name and just apply it a display: flex; This will arrange the images horizontally next to each other. Check out the example below for guidance.
CSS Example:
  .image-container {
        display: flex;
   }
In the example above, I selected the container class name “image-container” in the stylesheet and applied display: flex to it.
After that, your images will now be aligned side by side form horizontally.
Step 3: Style the images (optional).
This third step is entirely optional—it’s up to you. You can skip this step and simply check the output and responsiveness of your image.
If you want to improve the style of your image, you can add CSS to make it look better. I have give some example below to apply some basic styles.
You can apply styles to your images, such as adding space on the right and left, setting a border, defining specific height and width, or using border-radius for rounded images. Here are a examples:
CSS Example:
       .image-container {
        display: flex;
        gap: 30px;
      }

      .image-container img {
        max-width: 50%;
        height: auto;
        border: 5px dotted purple;
        border-radius: 20%;
      }
Step 4: Test and preview the result.
All the steps are now completed.
Finally, save both your HTML and CSS files. Preview the output to ensure that your images are displayed side by side as intended.
Here is the Output:
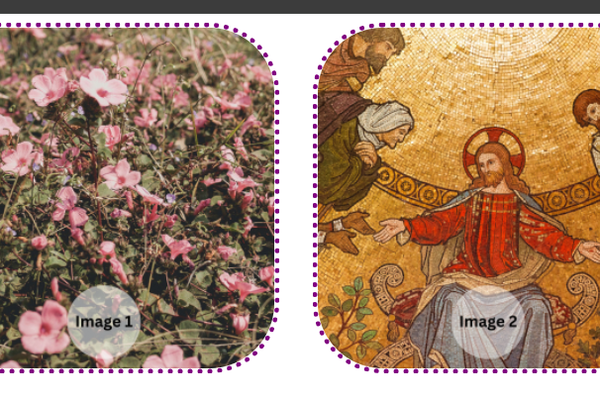
Multiple Images Side by Side Output:
Multiple Image Side by side output
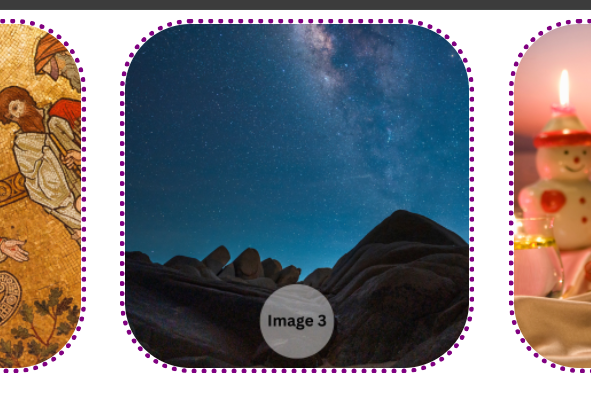
I apologize for using the same images again.
Here is the complete HTML and CSS if you’d like to take a look.
<!DOCTYPE html>
<html lang="en">
  <head>
    <meta charset="UTF-8" />
    <meta name="viewport" content="width=device-width, initial-scale=1.0" />
    <title>Side by Side Images Using Flex Box</title>
    <style>
      .image-container {
        display: flex;
        gap: 30px;
      }

      .image-container img {
        max-width: 50%;
        height: auto;
        border: 5px dotted purple;
        border-radius: 20%;
      }
    </style>
  </head>
  <body>
    <div class="image-container">
      <img src="Images/Images 1.png" />
      <img src="Images/Images 2.png" />
      <img src="Images/Images 3.png" />
      <img src="Images/Images 4.png" />
      <img src="Images/Images 5.png" />
    </div>
  </body>
</html>
This Flex Box method ensures a clean and responsive layout for your images and other HTML elements as well.
I hope this post helps you understand how to place two images side by side in HTML. If you have any questions, feel free to leave a comment below.
Related Posts:
