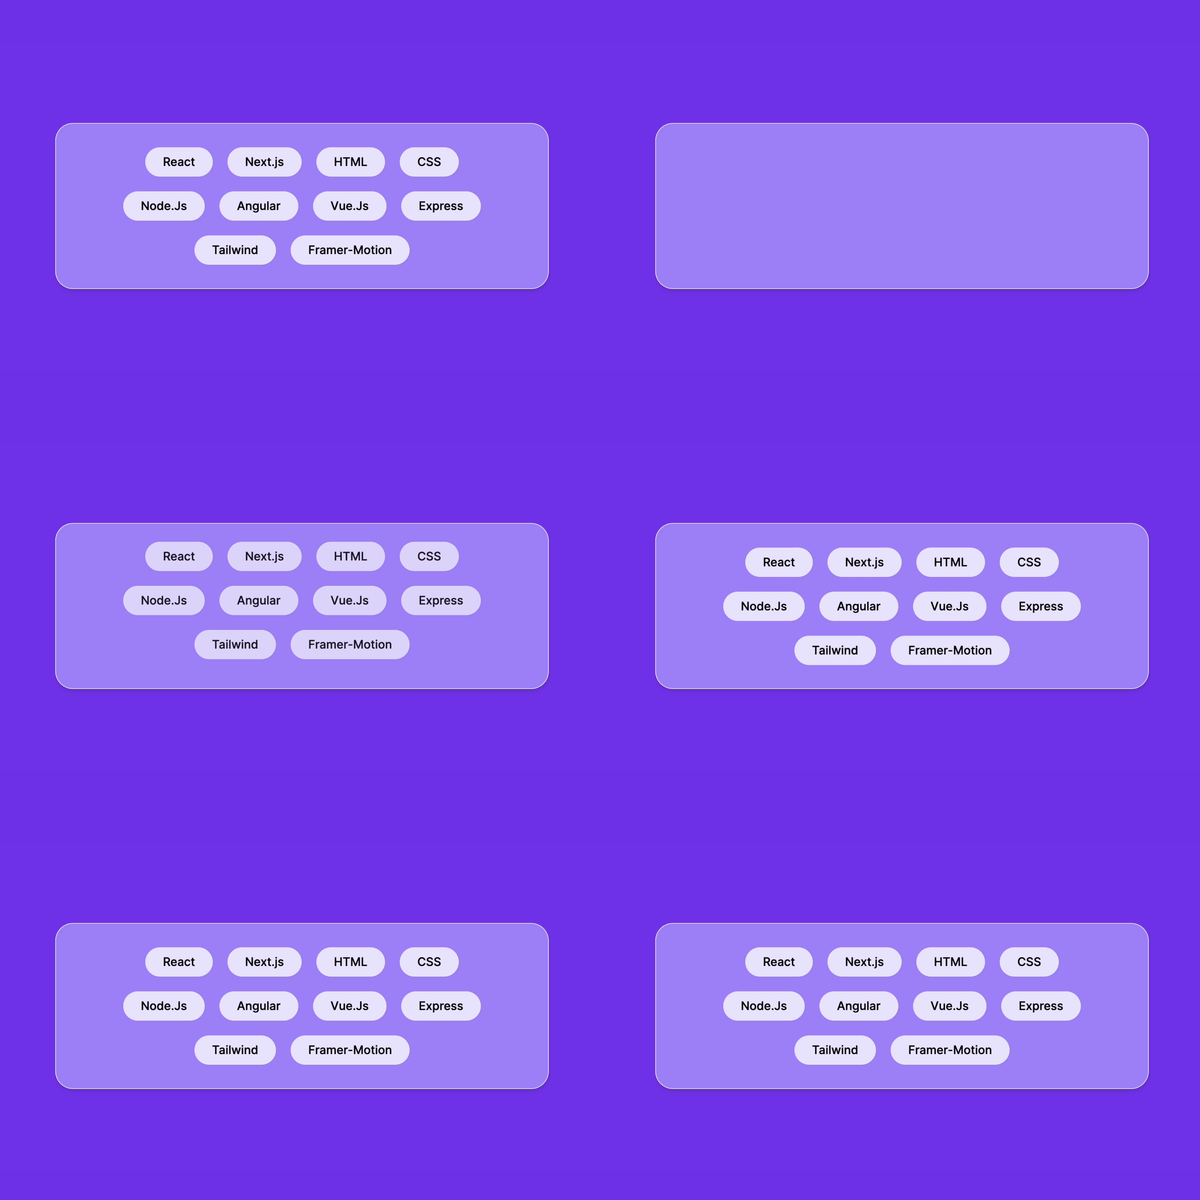
If you are building a website and want to add some animation touch to it starting with Staggered Animations is a good idea.
Staggered Animations works best on a list of items, a collection of small sections, and other similar items.
It is also very easy to implement using Framer Motion and Nextjs, if you never used Framer Motion before then do not worry because I will guide you through every single step in this blog post.
Adding Staggered Animations with Framer Motion in Next.Js
1. Add Framer Motion package to your project
If you are already using the Framer Motion package in your project then you could skip this step.
On the other hand, if your project doesn’t contain the Framer Motion package then you need to add it using your package manager such as npm, yarn, pnpm, or bun.
In your terminal, you need to enter the below code.
npm i framer-motion2. Create Framer Motion variants
Now we need to create variants for the animation, if you are familiar with framer motion then you might be wondering why we using variants instead of adding the animation directly.
We are using variants because it will help us to pass a custom value, which you will see in the latest step.
In the variants, I’m changing the initial y position to 100 and the opacity to 0.
When the animation is triggered the y position will be 0 and the opacity will come back to 1.
const variants = {
  initial: {
    opacity: 0,
    y: 100,
  },
  animate: {
    opacity: 1,
    y: 0,
    transition: {
      delay: 0.05,
    },
  },
};
Also see: How to use Localstorage in Next.js 12 & 13 Above? 3 Method
3. Link variants with the Motion Container
Now we need to add the variants with the motion container, it is very simple to link a variant.
But first, you need to import motion from framer motion otherwise it won’t work.
import { motion } from "framer-motion";Once you import the motion now convert your normal JSX element with the framer motion element.
<div className="bg-violet-400 py-8 px-20 flex flex-wrap gap-5 justify-center max-w-2xl rounded-3xl shadow-md border">
        {lists.map((item, index) => (
          <motion.p //convert normal <p> with <motion.p>
            className="bg-violet-100 px-6 py-2 rounded-3xl font-medium"
            key={item}
          >
            {item}
          </motion.p>
        ))}
      </div>
Now you need to link the variants with the motion container, to do that you need to use some framer motion props.
      <div className="bg-violet-400 py-8 px-20 flex flex-wrap gap-5 justify-center max-w-2xl rounded-3xl shadow-md border">
        {lists.map((item, index) => (
          <motion.p
            variants={animationVariants} //add animationVariants in the variants prop
            initial="initial" //define initial animation from animationVariants
            whileInView="animate" //define whileInView animation from animationVariants
            className="bg-violet-100 px-6 py-2 rounded-3xl font-medium"
            key={item}
            viewport={{
              once: true,
            }} //Animation occurs only once when the page loads.
          >
            {item}
          </motion.p>
        ))}
      </div>
Now when you save and preview the page you will notice that all the items are animated at the same time and there is no staggered effect.
staggered animations no delay

It is because there is one more step you need to follow to get that staggered effect.
4. Pass index with Custom prop
Now you need to pass a custom prop that contains the index of each item as a value,
After passing the custom prop we will use it to calculate the delay for each element and that will give us a staggered effect, see the example below.
"use client";
import { motion } from "framer-motion";
import React from "react";
const lists = [
  "React",
  "Next.js",
  "HTML",
  "CSS",
  "Node.Js",
  "Angular",
  "Vue.Js",
  "Express",
  "Tailwind",
  "Framer-Motion",
];

const variants = {
  initial: {
    opacity: 0,
    y: 100,
  },
  animate: (index: number) => ({ //use the custom value here
    opacity: 1,
    y: 0,
    transition: {
      delay: 0.05 * index, //add delay according to the index
    },
  }),
};

export default function Page() {
  return (
    <main className="bg-violet-600 h-screen w-full flex justify-center items-center">
      <div className="bg-violet-400 py-8 px-20 flex flex-wrap gap-5 justify-center max-w-2xl rounded-3xl shadow-md border">
        {lists.map((item, index) => (
          <motion.p
            variants={variants}
            initial="initial"
            whileInView="animate"
            className="bg-violet-100 px-6 py-2 rounded-3xl font-medium"
            key={item}
            viewport={{
              once: true,
            }}
            custom={index} //Pass the index in the custom prop
          >
            {item}
          </motion.p>
        ))}
      </div>
    </main>
  );
}
Now save the file again and see the preview of the animation in your browser.
staggered animations

You can play with the duration and delay value and set it according to your needs.
Previously I showed you How can you add a Page Scroll Progress Bar in Next.js using framer motion.
If you have any questions or suggestions then do let me know on my social media handle or send me an email.
